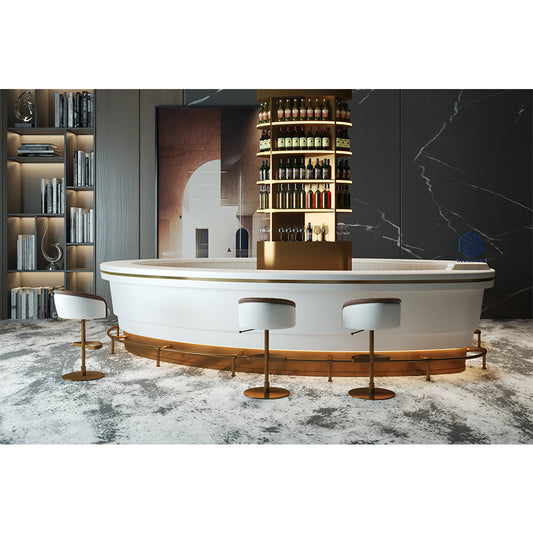
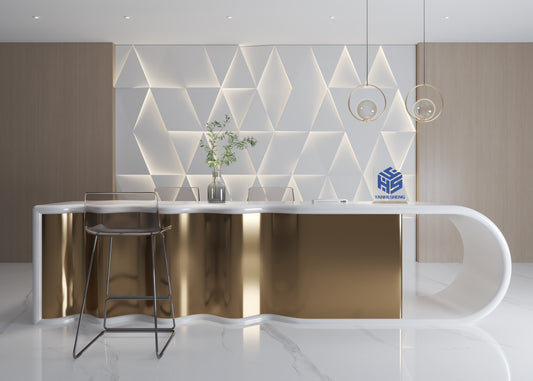
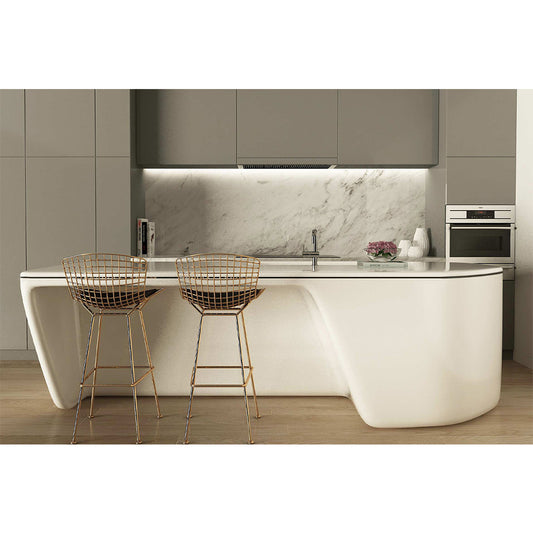
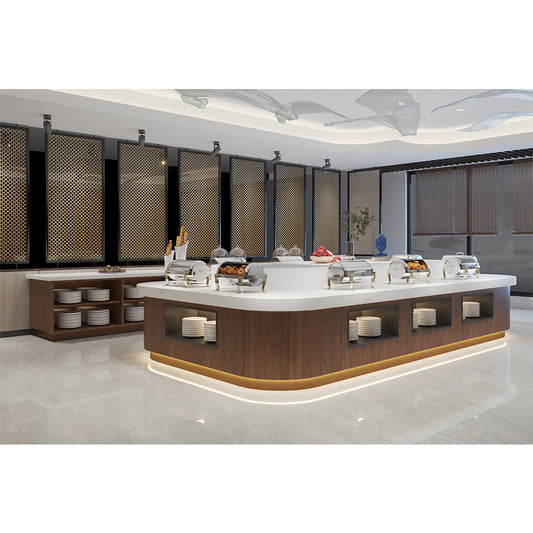
Corian solid surface stone counter top install method:
There are several steps to attaching a solid surface countertop to a cabinet:

Tools and Materials:
Acrylic solid surface stone glue in matching color
Hot melt glue
Glue gun
- Construction adhesive or silicone caulk
- Several clamps (about 20-30cm each)
- Caulking gun
- Level
- Tape measure
- Masking tape
- Rubbing alcohol or acetone (to clean off excess hot melt glue on the surface)
- Screws and brackets (if additional support is needed)

Several 5-10cm wooden pads
There are several steps to attaching a solid surface countertop to a cabinet:
1. Cleaning and Inspection:
Inspect the cabinet: Make sure the cabinet is level and securely installed. The cabinet can be made of plywood or painted board with a smooth surface.
Clean the surface: Wipe off dust and dirt with a semi-damp towel, and clean the top edge of the cabinet and the bottom of the countertop with rubbing alcohol or acetone to remove dust and surface grease.
2. Dry Installation:
Place the countertop on top of the cabinet to check for fit. Make sure it is properly aligned with the edge of the cabinet and any walls or appliances.
Make any necessary adjustments to the countertop or cabinet to achieve a perfect fit.

3. Support and Adhesive Application:
solid surface stone Glue: Use construction adhesive or silicone caulk to apply a continuous bead along the top edge of the cabinet where the countertop will rest.summer and 30-45 minutes in winter to solidify.
Securing: Carefully place the solid surface countertop on the cabinet, making sure it is properly aligned. Press down firmly on the countertop to ensure good contact between the countertop and the adhesive.

4. Securing the Countertop and Seamless Joints:
Securing the Countertop: Use clamps to hold the countertop in place while the adhesive cures. Place clamps along the edges and any seams to ensure even pressure.
Seamless Joints: Place clear tape on both sides of the seam panels, about 0.5cm apart. Apply hot melt glue to the bottom of the small wooden block and glue it to the edge of the countertop gap 1cm, from top to bottom, apply it to the wooden boards on both sides, with a spacing of about 5cm, and then apply 2-3 times of acrylic artificial stone glue to the 0.5cm gap, so that the joints are fully coated with glue, and then close them to make the middle seamless, and then fix the wooden blocks on the countertop with a clamp. After the adhesive cures, use a sander with sandpaper to smooth the joints to create a seamless appearance.


5. Adjustment and cleaning:
After curing, remove the clamp and clean up excess adhesive or debris, and use alcohol to remove hot melt glue and wooden blocks from the countertop.
Check the alignment and stability of the countertop, then sand and polish it, and select specific acrylic artificial stone sandpaper from coarse to fine sanding according to the matte or glossy effect you want.
6. Install sinks and appliances:
Install any undercounter sinks or appliances according to the manufacturer's instructions. Make sure they are firmly fixed to the countertop and cabinets.
Apply a bead of silicone sealant around the edges of the sink and appliances to create a waterproof seal.
By following these steps, you can securely attach your solid countertop to your cabinets, ensuring a stable, beautiful kitchen surface. If you're unsure about any part of the process, consider consulting a professional installer to ensure a successful installation.


