Building a raised bar countertop can be a great way to add functionality and style to your kitchen or dining area. Here’s a step-by-step guide to help you build a raised bar countertop:
1. Planning and Design
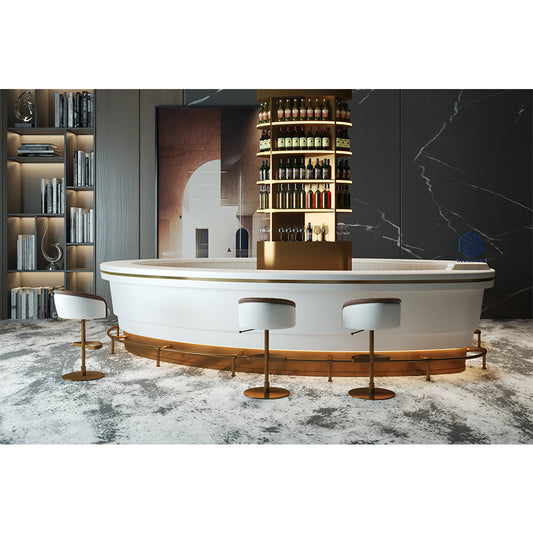
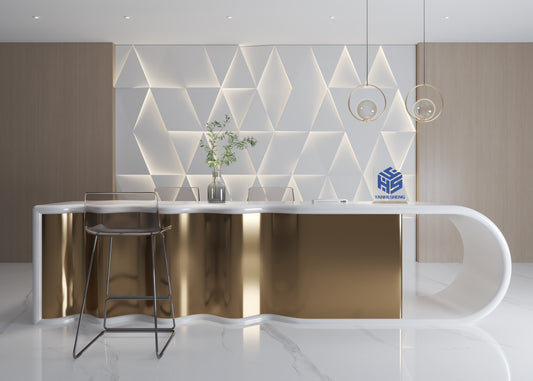
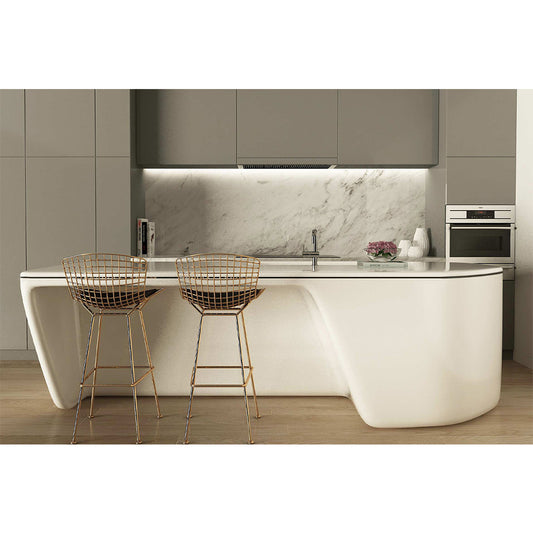
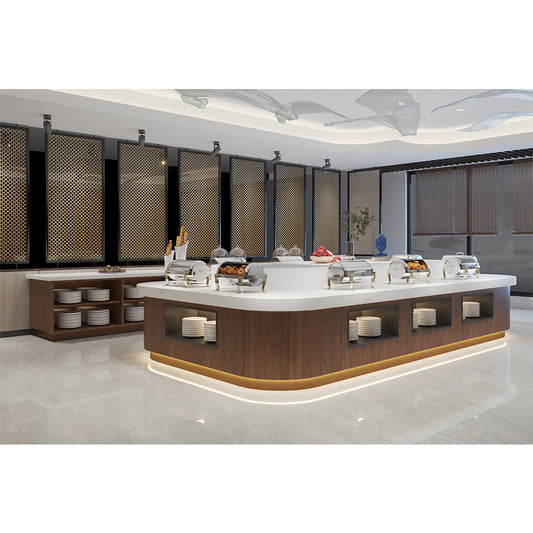
- Measure the Space: Determine where you want the raised bar countertop to be and measure the available space. Consider the height of the bar (typically around 42 inches from the floor) and the depth you want (usually 12 to 18 inches for the bar overhang).
- Choose Materials: Decide on the materials for the countertop and the support structure. Common materials for the countertop include solid surface, wood, granite, or laminate. For supports, you can use wood, metal brackets, or corbels.
2. Gathering Materials and Tools
-
Materials Needed:
- Countertop material (wood, granite, solid surface, etc.)
- Support brackets, corbels, or legs
- Screws and anchors
- Adhesive (construction adhesive or epoxy)
- Trim or molding (optional)
-
Tools Needed:
- Tape measure
- Level
- Saw (if you need to cut the countertop or supports)
- Drill and bits
- Screwdriver
- Sandpaper
- Clamps
3. Building the Support Structure
-
Install Support Brackets:
- Measure and mark where the support brackets or corbels will be installed. These should be evenly spaced (typically 16-24 inches apart) to provide adequate support for the countertop.
- Use a level to ensure the brackets are installed at the correct height (usually 42 inches from the floor).
- Attach the brackets to the wall using screws and anchors, making sure they are securely fastened.
-
Add Vertical Supports (if needed):
- If your bar is extending more than 12 inches from the wall, you may need additional vertical supports or legs. These can be installed under the overhang for extra stability.
4. Cutting and Preparing the Countertop
-
Cut the Countertop:
- If necessary, cut the countertop material to the desired size. Make sure the overhang is sufficient for comfortable seating.
- Sand the edges to smooth out any roughness and prepare for finishing.
-
Finishing the Edges:
- Depending on the material, you might want to finish the edges of the countertop with trim or molding for a polished look. Apply trim using adhesive and small finishing nails or brads.
5. Installing the Countertop
-
Dry Fit:
- Place the countertop on top of the support brackets to ensure it fits correctly and is level. Make any necessary adjustments before permanently securing it.
-
Secure the Countertop:
- Apply construction adhesive or epoxy to the top of the support brackets and along the wall where the countertop will sit.
- Carefully place the countertop onto the brackets, pressing it down to ensure a good bond. Use clamps if necessary to hold it in place until the adhesive sets.
- For additional security, you can screw the countertop into the brackets from underneath, being careful not to go through the top surface.
6. Final Touches
-
Caulk the Seams:
- If there are any gaps between the countertop and the wall, use caulk to seal them. This prevents moisture from getting behind the countertop and gives a finished look.
-
Finishing:
- If you used wood for the countertop, consider staining or sealing it to protect the surface and enhance its appearance.
- Clean the entire surface and remove any excess adhesive.
7. Inspect and Enjoy
- Check Stability: Ensure the countertop is securely attached and stable. Test its strength by applying some pressure to different areas.
- Enjoy Your New Bar: Once everything is set and secure, your new raised bar countertop is ready to use!
By following these steps, you can create a functional and stylish raised bar countertop that adds value and appeal to your kitchen or dining area